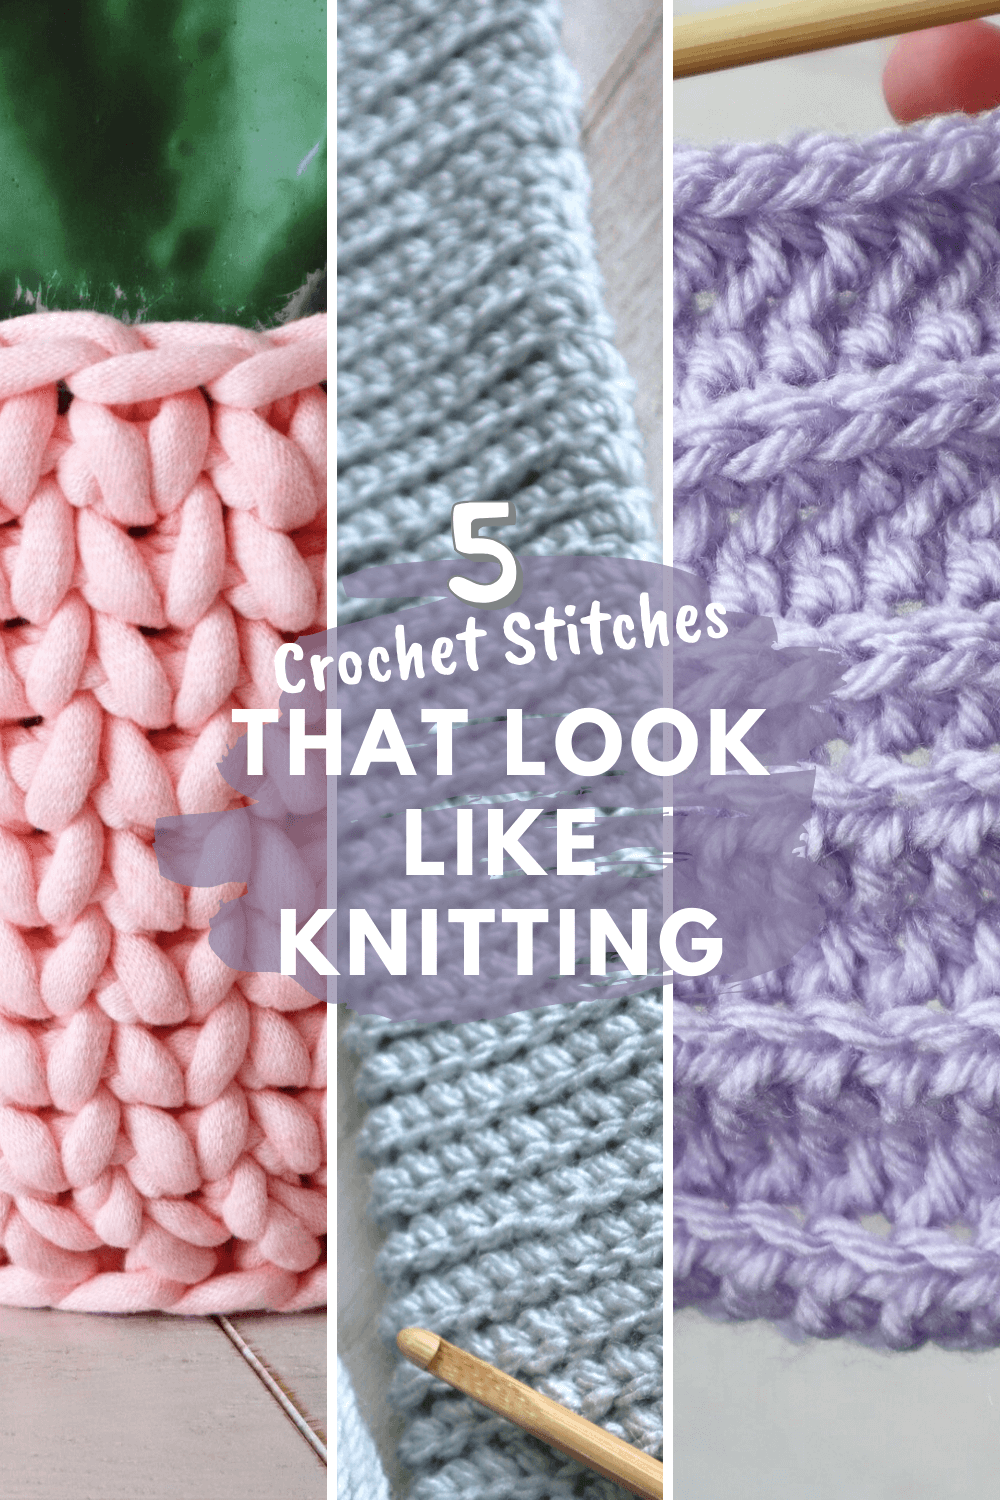
They say the grass is always greener on the other side, and if you are a crocheter, that grass might just look a little cable knit (or like some 1x1 ribbing)! That makes it all the more fun to be able to pull off some of those classic knit textures all with our beloved crochet. Below you'll find my five favorite techniques for crochet that looks like knitting!
What Makes Crochet Look Like Knitting?
When I talk about "crochet that looks like knitting," I'm referring to specific textures that are traditionally associated with knitting:
- The classic "V" shaped knit stitch
- Ribbing textures (like 1x1 or 2x2 ribbing)
- Cable patterns
Each technique below can help you achieve one or more of these iconic knit textures—all while using your trusty crochet hook!
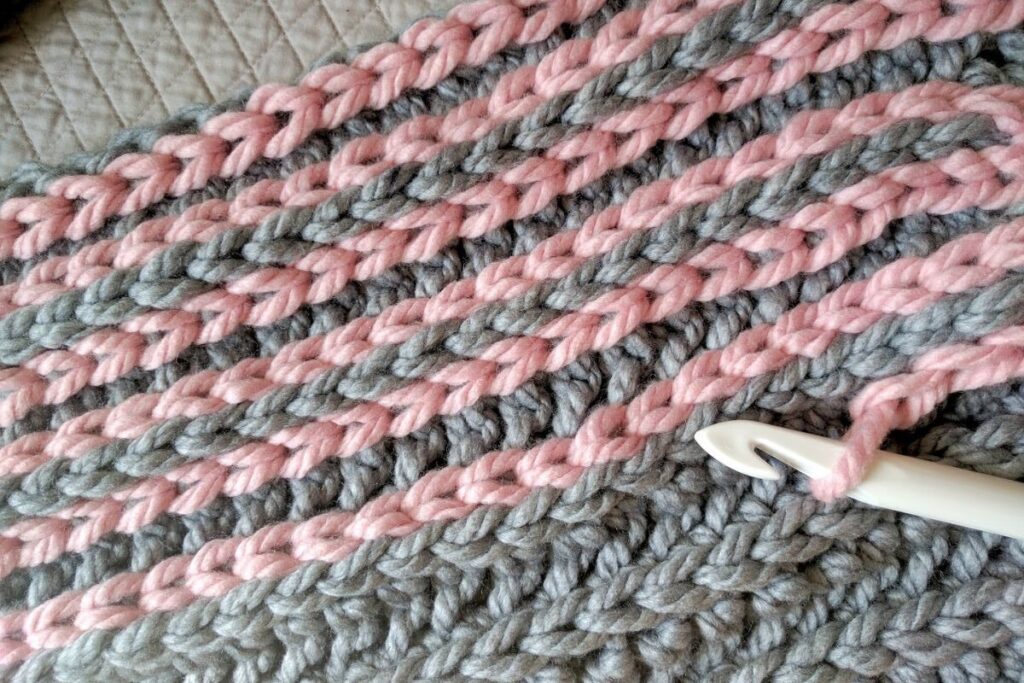
1. Back Loop Crochet Stitch
Overview: Back loop crochet is the perfect entry point for beginners looking to create knit-look textures. By working only through the back loop of each stitch, part of your crochet stitch lays to one side, creating a ribbed texture that closely resembles knitted ribbing.
How To: Identify the "V" at the top of your stitch—the back loop is the leg of the V furthest from you. Insert your hook only through this back loop and work your intended stitch normally.
Pro Tip: Use the shortest stitch possible for the most knit-like appearance. Slip stitches worked in back loops create an incredibly convincing knit ribbing effect!
Pros:
- Beginner-friendly technique
- Creates stretchy ribbing for cuffs, hems, and edges
- Works with any basic crochet stitch
Cons:
- Can be tedious when using slip stitches
- Unless using slip stitches, that V shape knit stitch doesn't appear
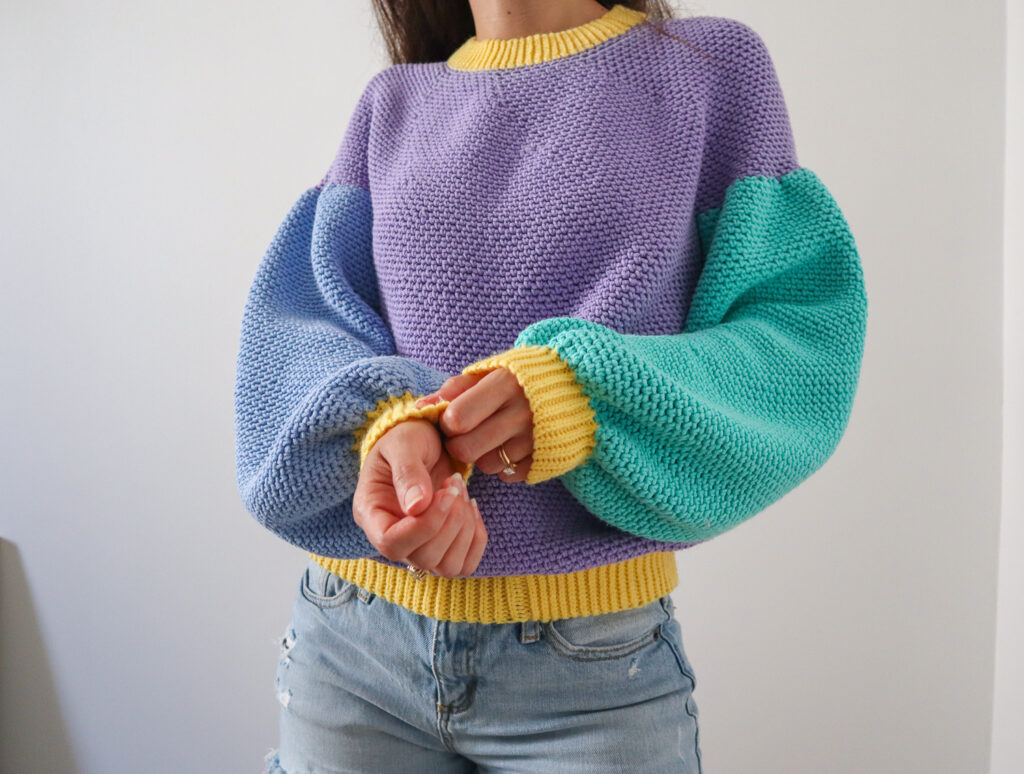
Pattern Inspiration: I use back loop ribbing in many of my patterns! You'll love it in my "Better Sweater" crochet sweater pattern where I used the slip stitch version for convincing knit-look cuffs!
2. Camel Stitch
Overview: The camel stitch is a half double crochet technique that creates a beautiful horizontal "V" pattern, making it one of the closest matches to knit fabric in appearance.
How To: After creating a row of half double crochets, work your next row by inserting your hook under the third loop (the front bar) of each stitch instead of the usual top loops.
Pro Tip: This stitch really shines when worked in the round, where the "third loop" appears at the back of your work.
Pros:
- Creates distinct V-shaped stitches
- Quick to work up
- Looks amazing in-the-round
Cons:
- The V stitches lay horizontally rather than vertically, limiting the use cases
- Must use half double crochet
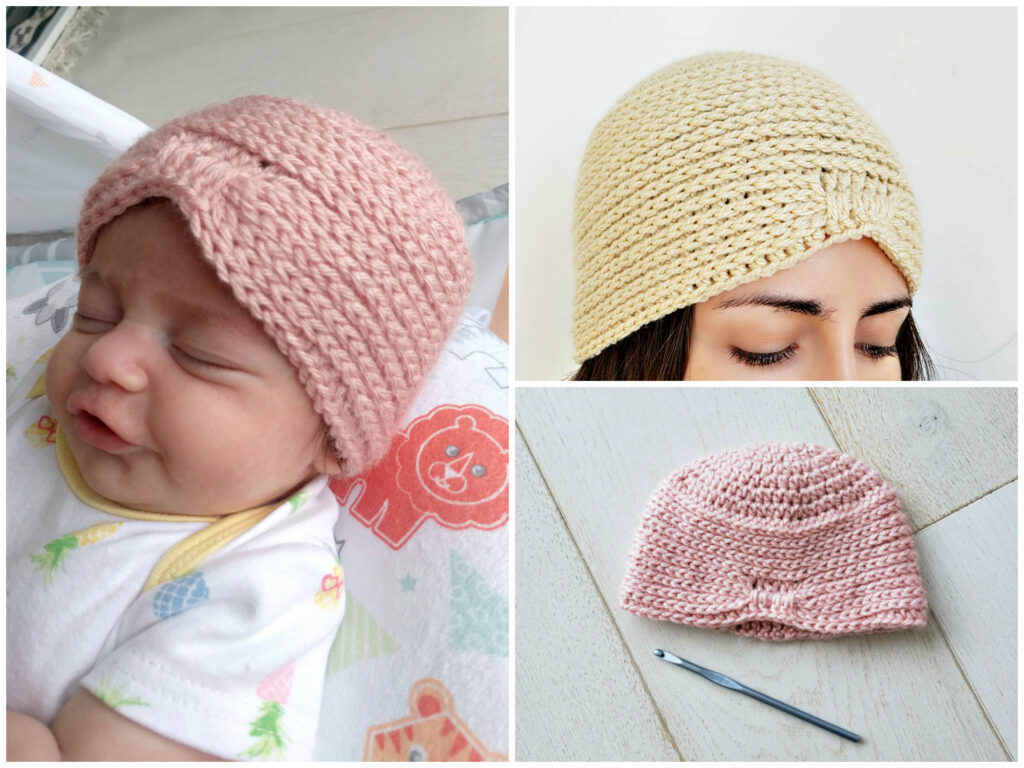
Pattern Inspiration: I used the camel stitch in my turban pattern, not trying to emulate knitting but just letting the horizontal ribbing shine! You can check it out HERE
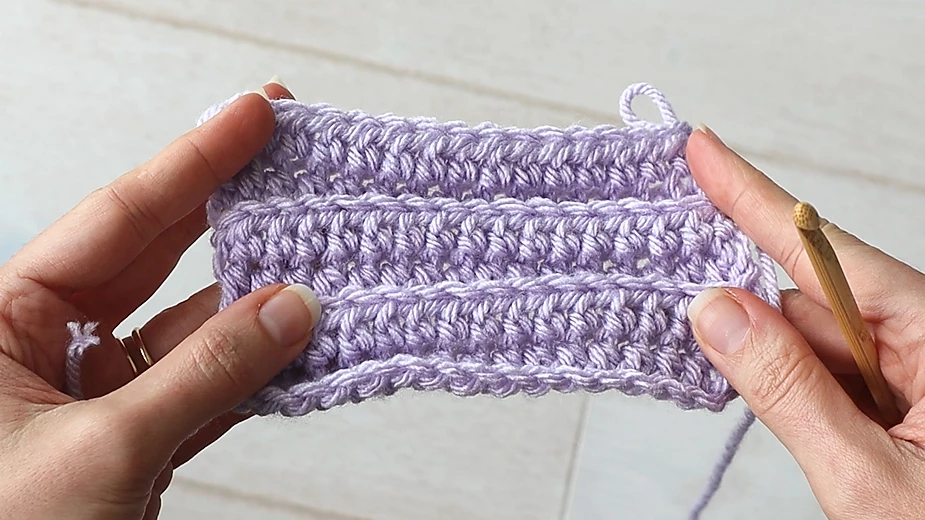
3. Front Post/Back Post Double Crochet
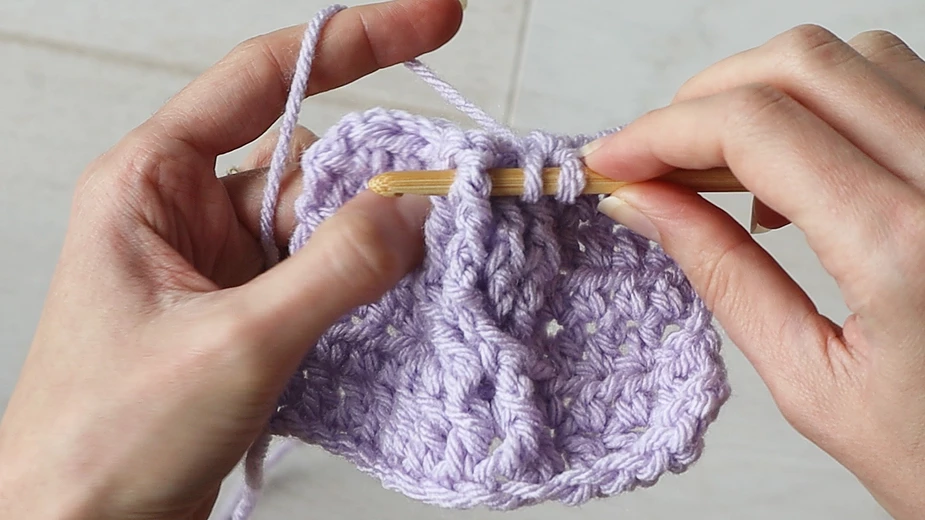
Overview: Front post and back post double crochet techniques create pronounced vertical ribbing and can even be manipulated to form stunning cable patterns—a texture most people assume is exclusive to knitting.
How To: Work around the post (vertical part) of the stitch below rather than into the top of the stitch. For front post, insert your hook from front to back around the post; for back post, insert from back to front.
Pro Tip: Alternating front post and back post stitches creates a classic ribbed texture, while strategic post stitch placement can create intricate cable patterns.
Pros:
- Creates the most pronounced, three-dimensional ribbing
- Can be used for complex cable patterns
- Creates vertical ribbing right where you want it so great for top-down projects
Cons:
- A real yarn-eater
- Creates a thicker fabric
- Can have kind of a lumpy appearance in some yarns
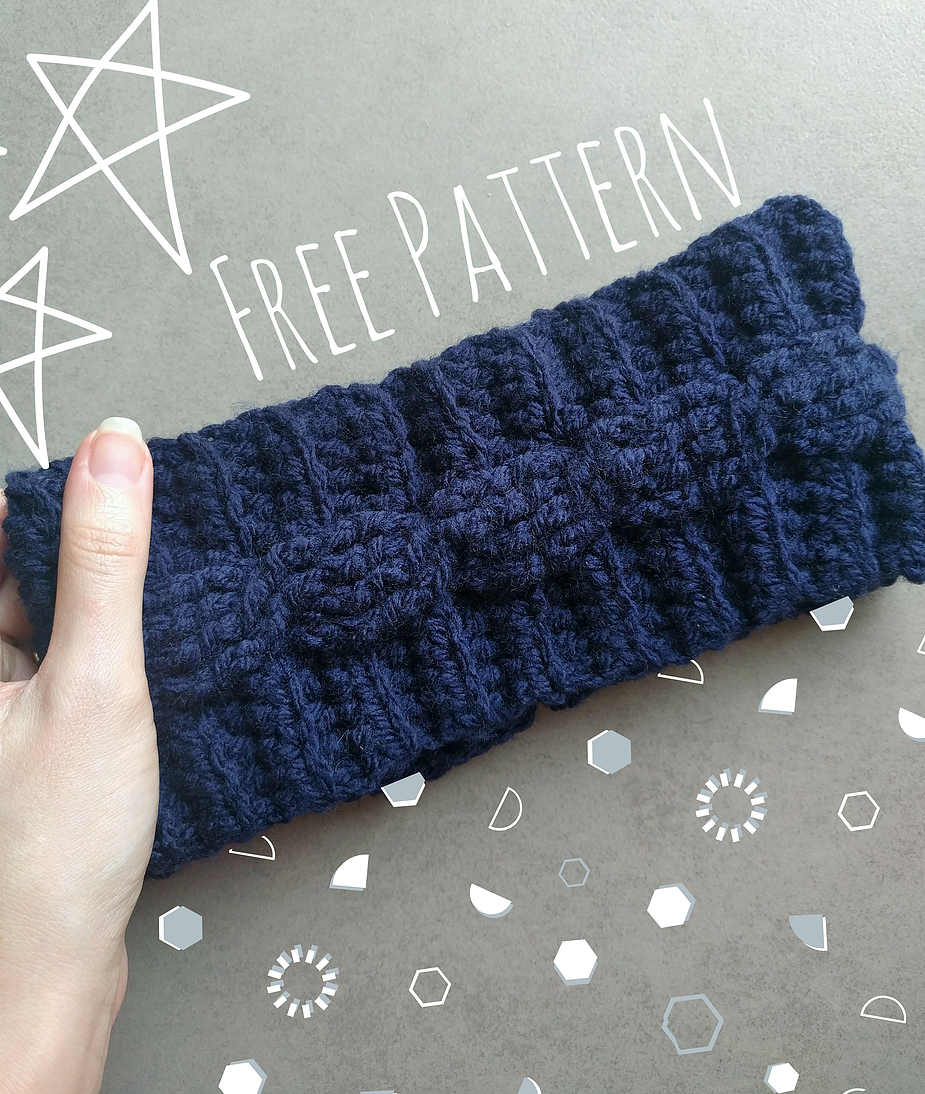
Pattern Inspiration: My Free Crochet Cable Headband Pattern is perfect for practicing this technique. The detailed tutorial walks you through creating gorgeous cabled textures that will have knitters doing a double-take!
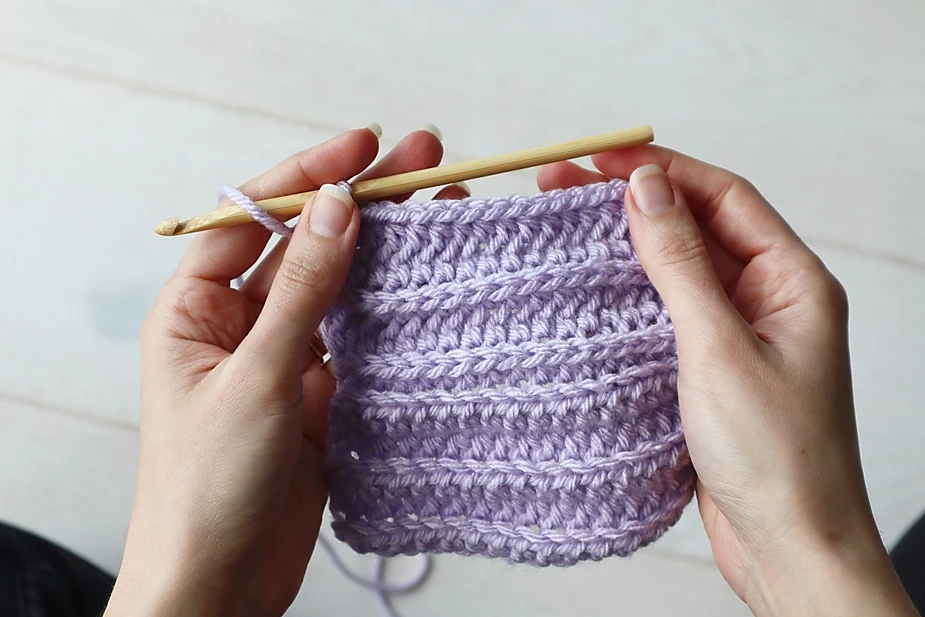
4. Waistcoat Stitch (Knit Stitch)
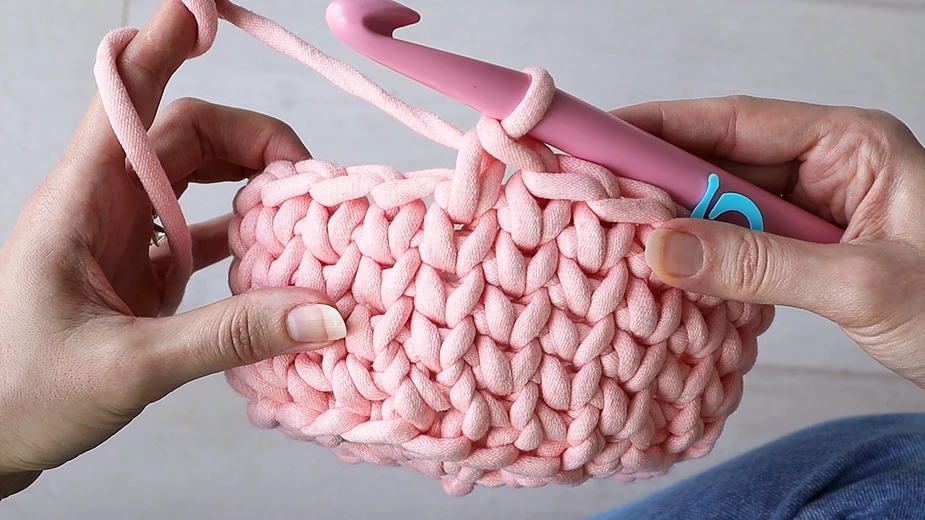
Overview: Also known as the "crochet knit stitch," the waistcoat stitch creates a fabric that's nearly indistinguishable from knitted stockinette stitch, complete with perfect vertical V formations.
How To: Work single crochets into the center of the V from the previous row's stitches (between the front and back loops) rather than working into the top loops.
Pro Tip: Use a hook 1-2 sizes larger than recommended for your yarn, as this stitch creates a very dense fabric.
Pros:
- Creates the most authentic knitted appearance
- Produces a sturdy, non-stretchy fabric
- Perfect for baskets, bags, and home decor
Cons:
- Very tight and difficult to work
- Extremely dense fabric
- Uses significantly more yarn
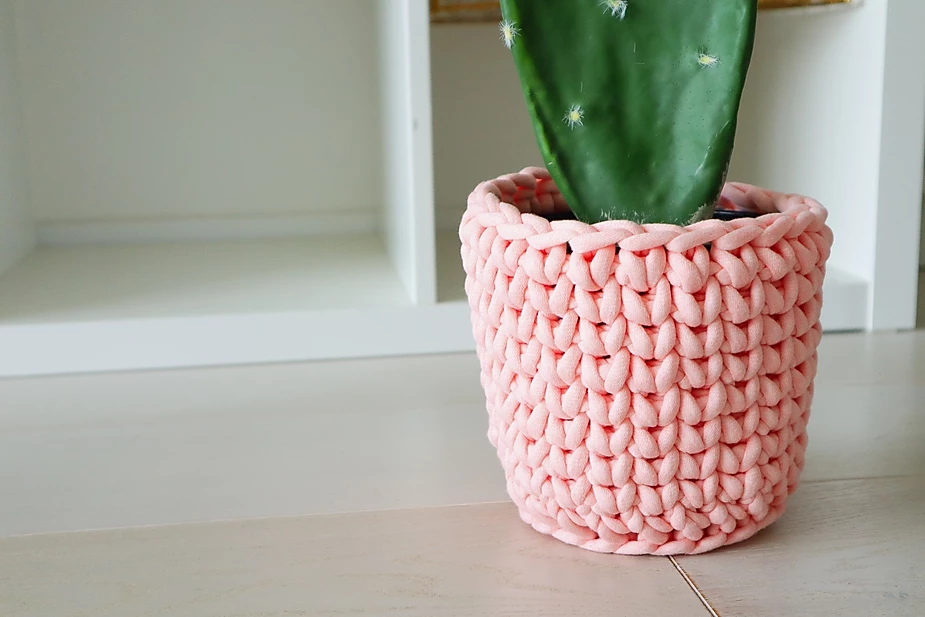
Pattern Inspiration: My Cactus Cozy planter holder pattern shows how to leverage this stitch's sturdy properties to create functional items with a beautiful knit-look texture. It comes with a video tutorial that demonstrates the precise hook placement needed to master this technique.
5. Surface Crochet
Overview: Surface crochet is a decorative technique that adds knit-like V shapes to the surface of an existing crochet project, allowing you to add knitted textures after completing your work.
How To: Hold your yarn behind your finished crochet piece and use slip stitches along the surface, between existing stitches, to create decorative V patterns wherever you choose.
Pro Tip: This technique is ideal for adding details like initials, symbols, or simple designs to finished projects.
Pros:
- Can be added to any finished crochet project
- Endless design possibilities
- Doesn't affect the structure of your underlying project
Cons:
- Appears on one side of the fabric only
- Requires careful tension control
- Adds ends to weave in
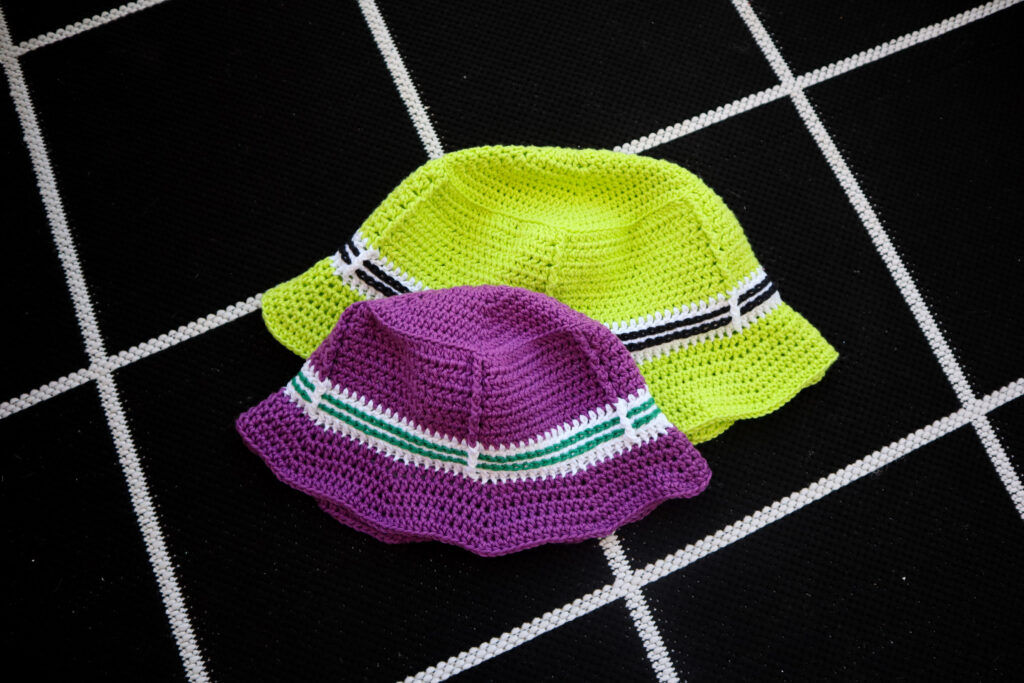
Pattern Inspiration: My Surface Crochet Tutorial is one of my most popular posts. It includes step by step details for adding the knit-look embellishments to simple crochet projects for that perfect finishing touch.
I used surface crochet to add the retro stripe on my Crochet Bucket Hat which is a pattern you can try for FREE!
Final Thoughts
These five techniques open up a world of possibilities for crocheters who want to achieve knitted textures without switching crafts. Each method has its own unique characteristics and ideal applications, so you can choose the perfect technique for your specific project.
Don't forget to check out the video I made to go along with this post that demonstrates each of these 5 techniques
Which of these knit-look crochet stitches will you try first? Let me know in the comments below!