Going into this summer of 2020, we've all gotten very acquainted with your homes. Now, more than ever, we want our space to be a cozy, calming and inviting place to be! The number one way to increase the cozy, fast, is with texture. But what is texture? In terms of coziness, texture is anything that makes you want to touch it. The more you add interesting, touchable textures to a space, the more cozy it will become...instantly!
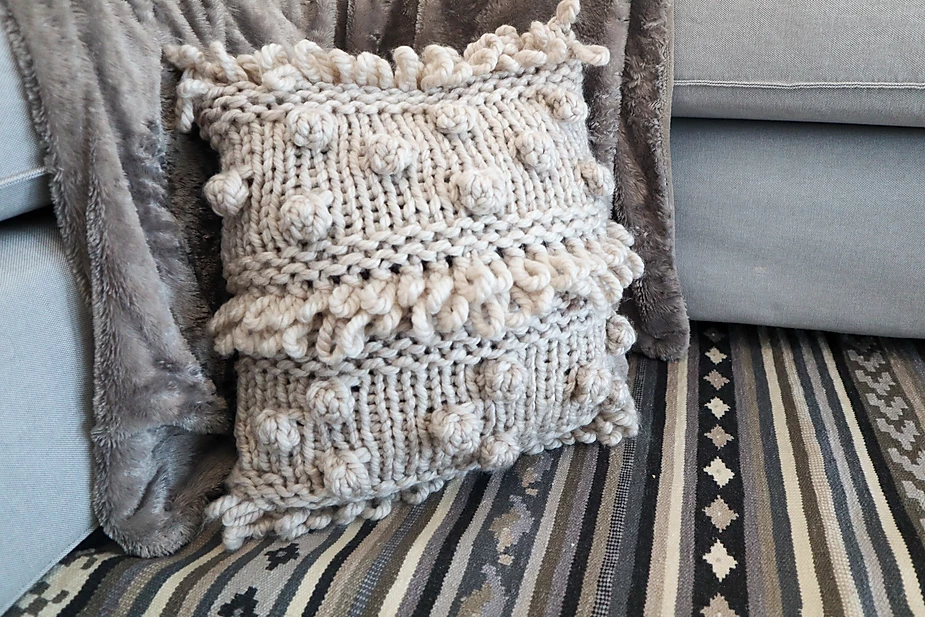
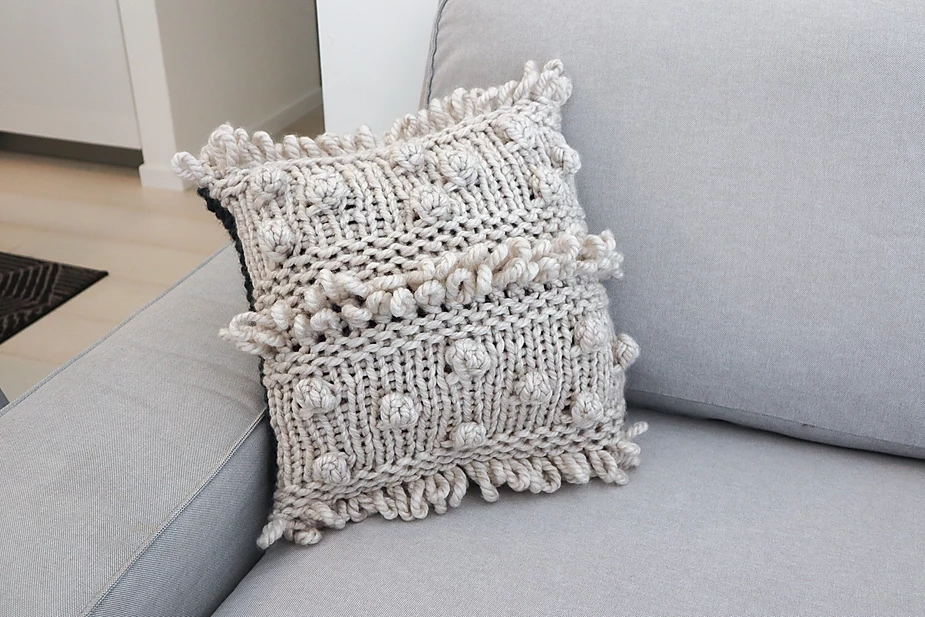
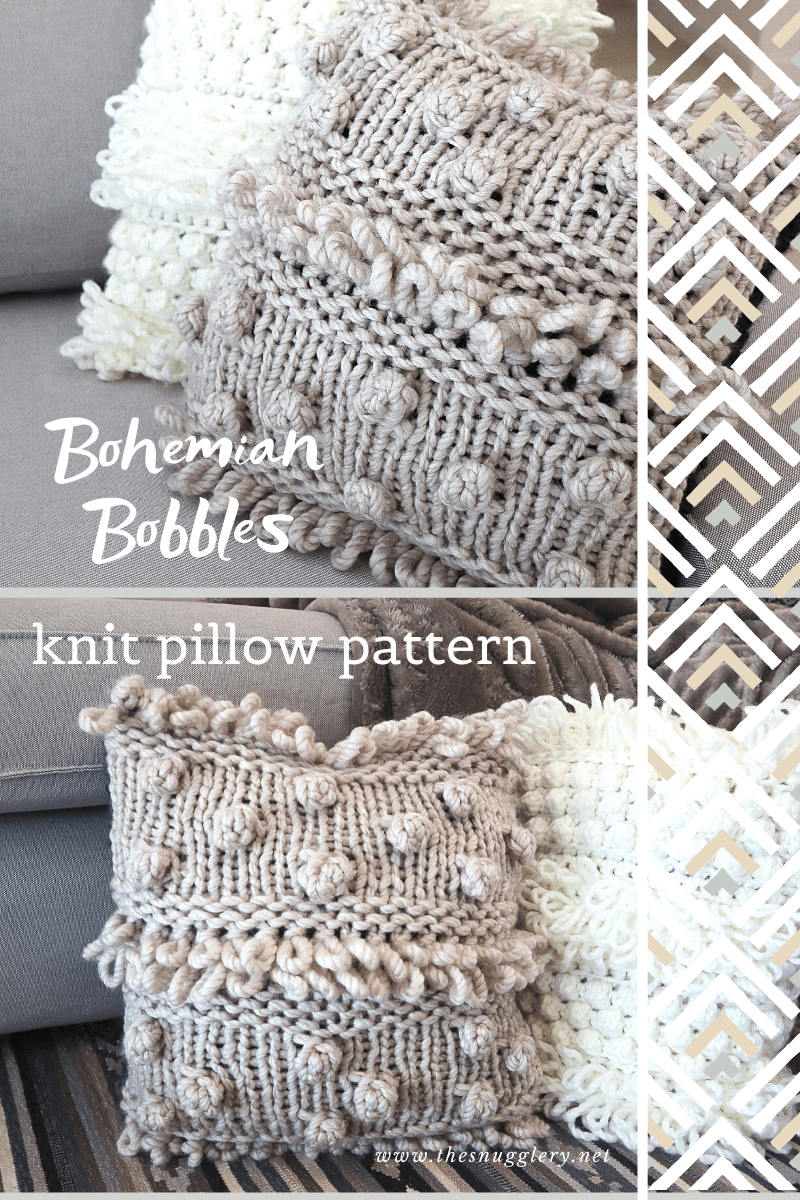
Those are the design principles I had in mind when I was designing this pillow pattern. That, and the fact that the loop stitch and the bobble stitch are super fun stitches to knit! With this pattern, you'll be able to use those new, unique stitches to create a 14"x 14" (35cm x 35cm) throw pillow. Additional sizing instructions are included in the downloadable version of the pattern that you can find here:
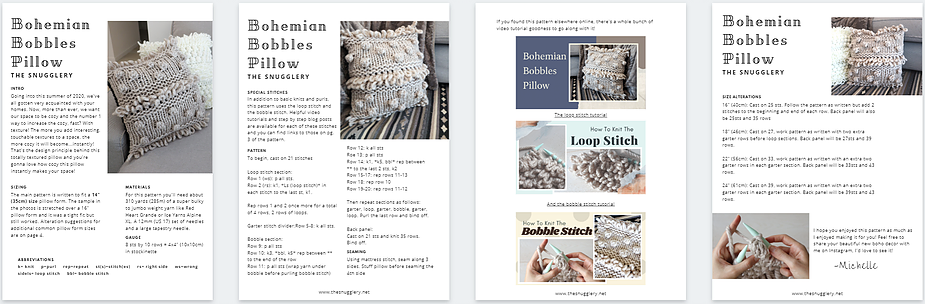
And since some of these stitches are really best demonstrated rather than explained in writing, I have 3 complimentary video tutorials for this pattern: one for the loop stitch, one for the bobble stitch and a video for the pillow pattern itself. You can find all of them here:
Now let's get into the written tutorial.
For this pattern, you'll need to pick up at least 310 yards (285 meters) of a larger size 6 "Super Bulky" or a Jumbo size 7 weight yarn like Ice Yarns Alpine XL or Red Heart Grande and size 12mm (US 17) knitting needles long enough to accommodate 21 stitches.
Abbreviations
k= knit p=purl rep=repeat st(s)=stitch(es) rs= right side ws=wrong side
ls= loop stitch bbl= bobble stitch
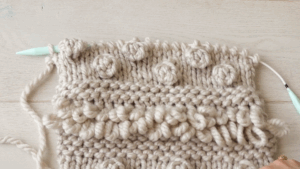
Pattern: front panel
To begin, cast on 21 stitches
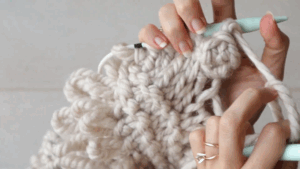
Loop stitch section:
Row 1 (ws): p all sts.
Row 2 (rs): k1, *Ls (loop stitch)* in each stitch to the last st, k1.
Rep rows 1 and 2 once more for a total of 4 rows, 2 rows of loops.
Garter stitch divider:
Row 5-8: k all sts.
Bobble section:
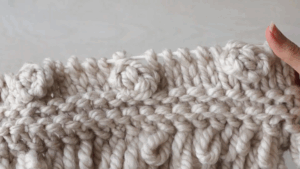
Row 9: p all sts
Row 10: k3, *bbl, k5* rep between ** to the end of the row
Row 11: p all sts (wrap yarn under bobble before purling bobble stitch)
Row 12: k all sts
Roe 13: p all sts
Row 14: k1, *k5, bbl* rep between ** to the last 2 sts, k2
Row 15-17: rep rows 11-13
Row 18: rep row 10
Row 19-20: rep rows 11-12
That completes a "bobble section."
Those are the three components of the pattern! Now repeat them as follows: Garter stitch divider, loop stitch section, garter, bobble, garter, loop
After your last loop stitch section, purl a row to get back to the right side. And do a basic bind-off.
Back panel:
Cast on 21 sts and knit every stitch for 53 rows and bind off.
Seaming
Thread a tapestry needle and seam bind off edges of your two panels using the mattress stitch. Then seam up the long edges, again, using the mattress stitch, which is worked a little differently along the edge of your work. You can find example videos by clicking on the underlined "mattress stitch" or by watching the end of my tutorial.
Seam the cast on edges and stuff your pillow with a 14" pillow form (or anything you'd like) before seaming up the last edge.