Going into this summer of 2020, we've all gotten very acquainted with your homes. Now, more than ever, we want our space to be a cozy, calming and inviting place to be! The number one way to increase the cozy, fast, is with texture. But what is texture?
In terms of coziness, texture is anything that makes you want to touch it. The more you add interesting, touchable textures to a space, the more cozy it will become...instantly!

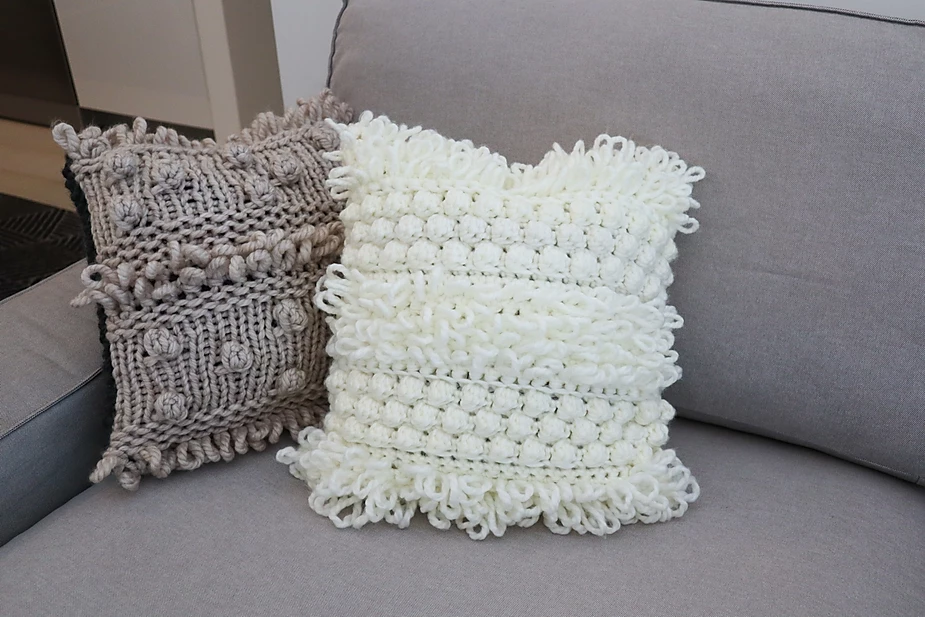
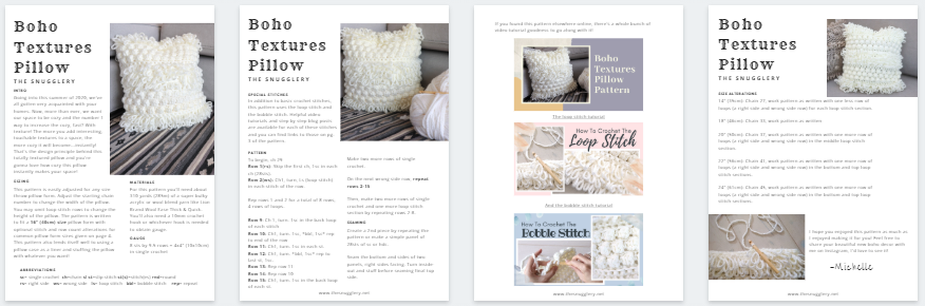
Those are the design principles I had in mind when I was designing this pillow pattern. That, and the fact that the loop stitch and the bobble stitch are super fun crochet stitches to work! With this pattern, you'll be able to use those new, unique stitches to create a 16"x 16" (40cm x 40cm) throw pillow. Additional sizing instructions are included in the downloadable version of the pattern that you can find here:
Now let's get into the written tutorial.
For this pattern, you'll need to pick up at least 310 yards (285 meters) of size 6 "Super Bulky" weight yarn like Lionbrand Thick & Quick or Paintbox Yarns Wool Mix Super Chunky and a size 10mm crochet hook.
Abbreviations
sc= single crochet ch=chain sl st=slip stitch st(s)=stitch(es) rnd=round rs= right side
ws=wrong side ls= loop stitch bbl= bobble stitch
Pattern
To begin, ch 29
Row 1(rs): Skip the first ch, 1sc in each ch (28sts).
Row 2(ws): Ch1, turn, Ls (loop stitch) in each stitch of the row.

Rep rows 1 and 2 for a total of 8 rows, 4 loop stitch rows.
Row 9: Ch 1, turn. 1sc in the back loop of each stitch
Row 10: Ch1, turn. 1sc, *bbl, 1sc* rep to end of the row

Row 11: Ch1, turn. 1sc in each st.
Row 12: Ch1, turn. *bbl, 1sc* rep to last st, 1sc.
Row 13: Ch1, turn. 1sc in each st.
Row 14: Ch1, turn. 1sc, *bbl, 1sc* rep to end of the row
Row 15: Ch1, turn. 1sc in the back loop of each st.
Make two more rows of single crochet.
On the next wrong side row, repeat rows 2-15
Then, make two more rows of single crochet and one more loop stitch section by repeating rows 2-8.
Seaming
Create a 2nd piece by repeating the pattern or make a simple panel of 28sts of sc or hdc and work until it's as tall as your first panel.
Seam the bottom and sides of two panels, right sides facing. Turn inside-out and stuff before seaming final top side.