
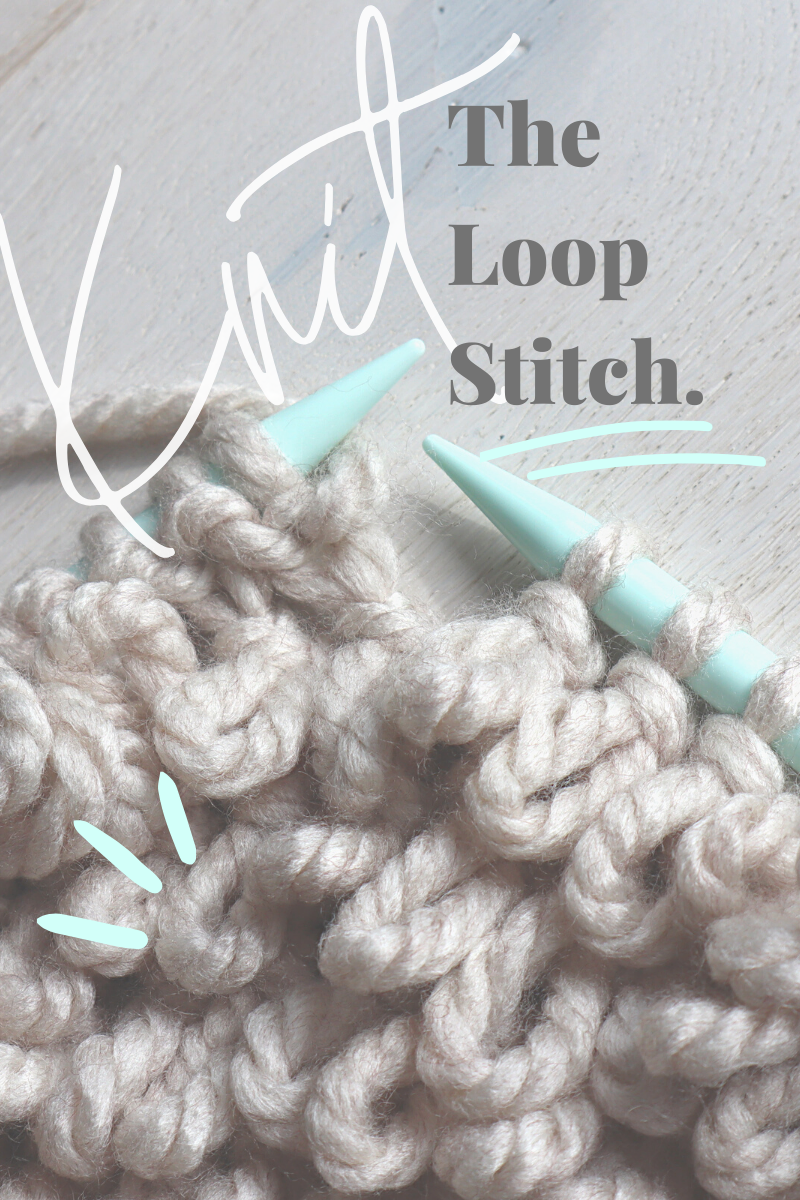
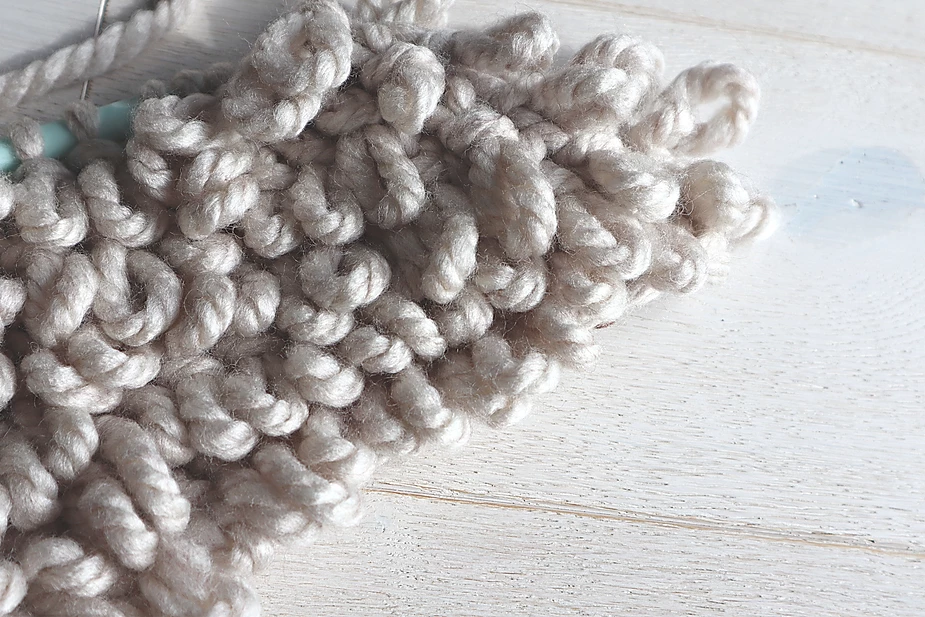
The loop stitch is a surprisingly easy stitch to knit that has a big impact! This stitch is loaded with texture and is a great, no-cut alternative to fringe. It’s one that really needs to be demonstrated so fortunately there’s a video tutorial you can find here:
Stitch Pattern
The loop stitch can be worked across any number of stitches.
Cast on your desired length of stitches
Row 1(ws): Knit all stitches (you may also purl this row for a reverse stockinette fabric on the wrong side).
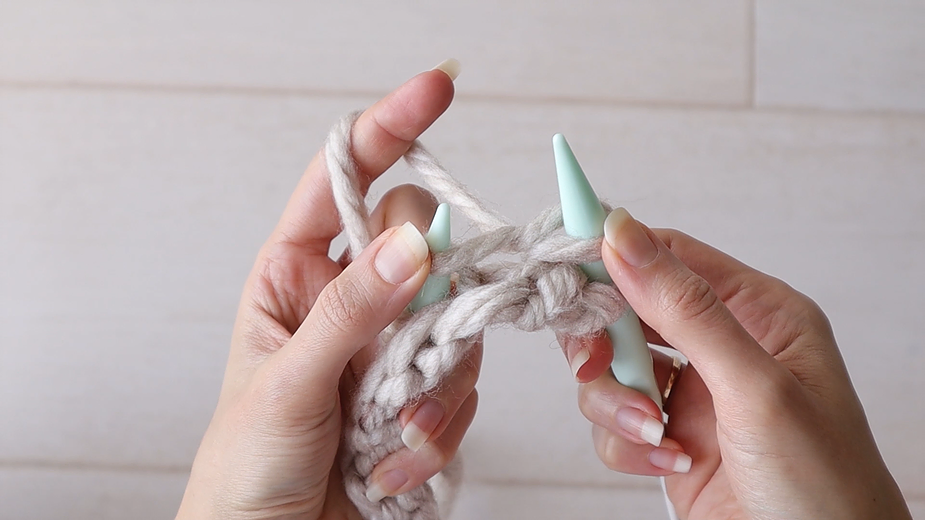
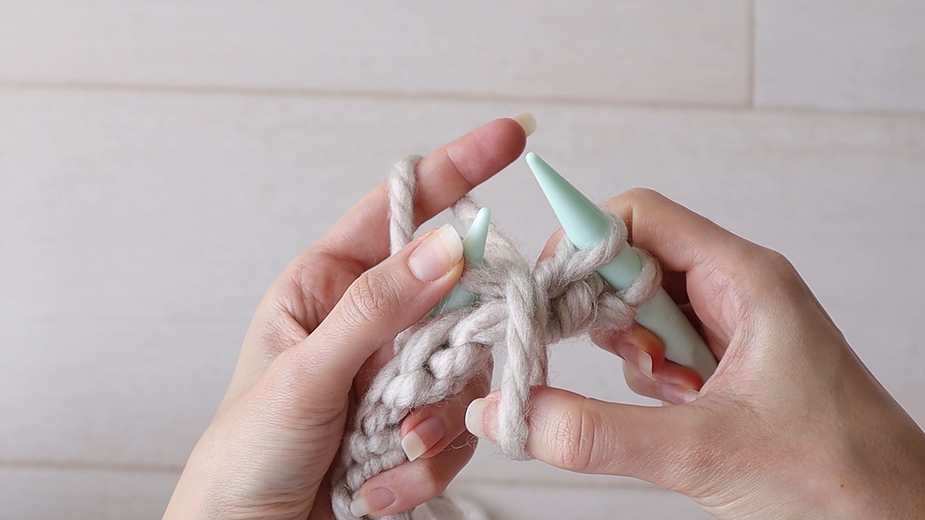
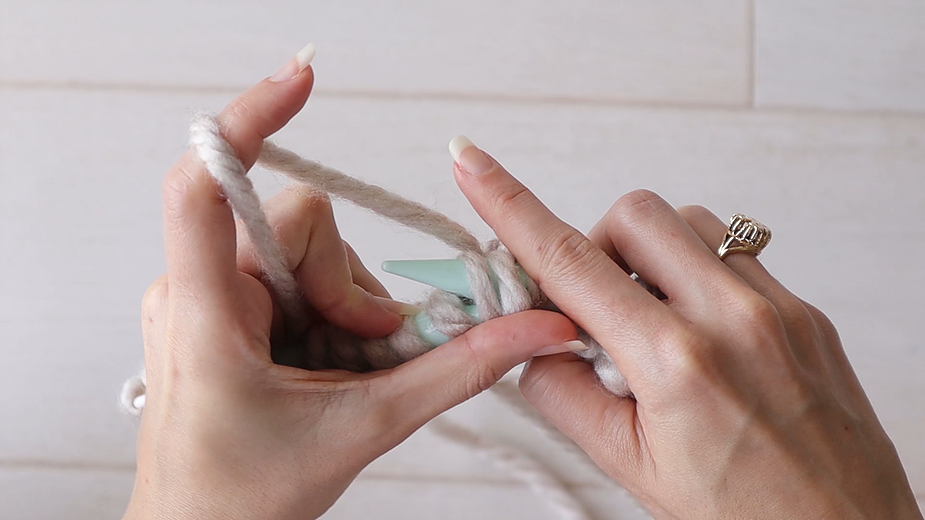
Row 2 (rs): *Knit one stitch but don’t drop the stitch off the left needle. Wrap the working yarn around your thumb and bring a loop down in front of your work.
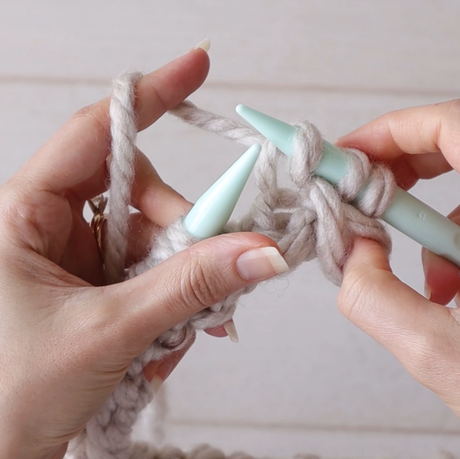
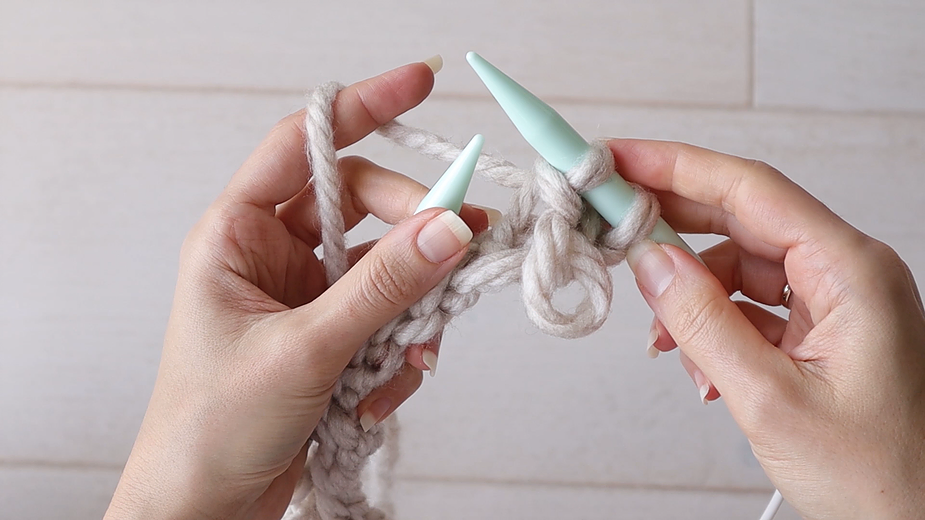
Knit into the next stitch normally, let it drop off your left needle, and pass the 2nd stitch on your right needle over the stitch you just knit.* Repeat for every stitch of the row.
Repeat rows 1 and 2 to achieve the loop stitch.
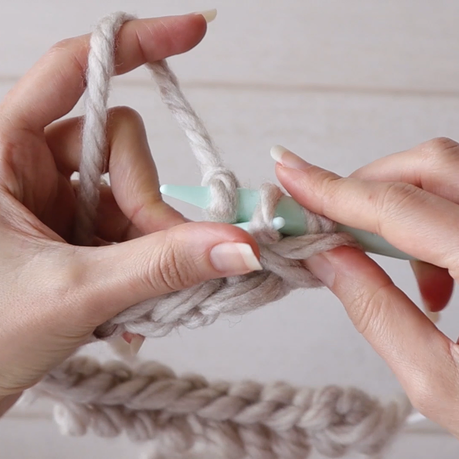
For row 2, after pulling the loop down with your thumb, you can also slip the extra stitch on your right needle back onto your left needle and k2tog through the back loop.
Essentially, to secure your loop and decrease the extra stitch working this stitch pattern, you may ssk or psso the two stitches involved in the loop stitch! If you’re already experienced in these decreases, it may be helpful to think of it that way.
This stitch is really best demonstrated rather than explained so be sure to check out the video tutorial if you’re still having trouble getting it down!
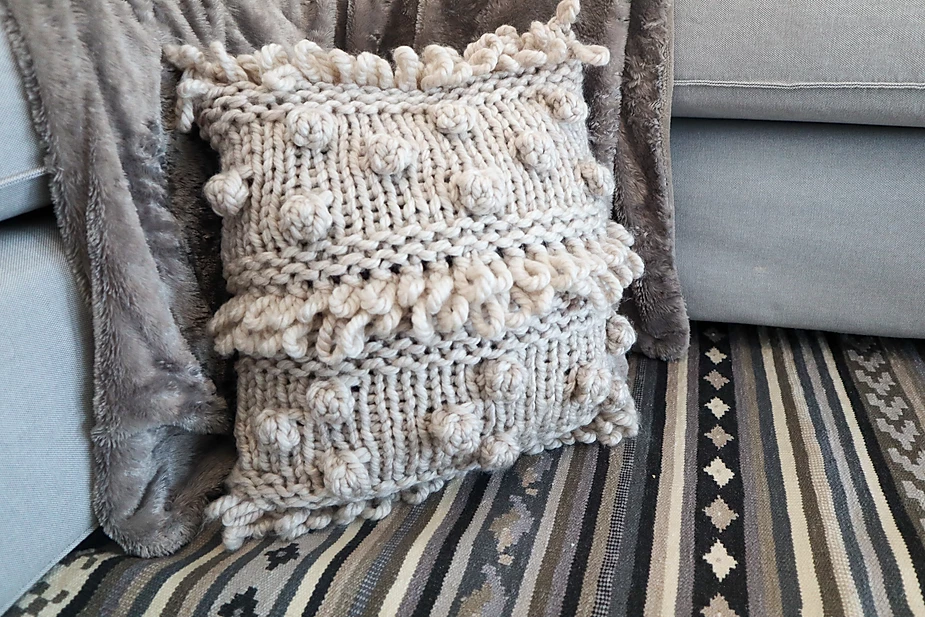
And if you’re obsessed with this new stitch and want a pattern you can try out with it right now, check out my Boho Textures Throw Pillow HERE.